Inside Forge’s Sci-Fi Lab Part I: Vision, Concept & Production
What happens when you give a team complete creative freedom to reimagine a sci-fi environment?
At Forge Studios, a group of our talented artists recently came together to push boundaries, experiment with advanced techniques and challenge what was creatively possible. Rather than diving straight into production, we took a more intentional approach: starting with strong concept development and a unified creative vision.
Now, we are excited to take you behind the scenes in a two-part breakdown of how this internal project evolved:
- Part 1: Concept, Direction Finalisation & Asset Production
- Part 2: Environment Assembling + Final Touches
Each phase will be explored in detail, with insights from key members whose contributions were instrumental in bringing the world to life. In this first article, you’ll directly hear from Jeroen Jansen (Lead Environment Artist), Gianluca Rolli (Lead Concept Artist), and Fabio Nuzzo (3D Artist Supervisor).
Special thanks to the rest of our incredible team: Stefano Ahmed, Davide Brunotti, Vincenzo Colangelo, Michele Crescenzi, Annamaria D’Arienzo, and Daniele Gasparini.
Let’s get to it!
What was the original goal or vision behind this project?
Jeroen: The idea was to revisit and evolve an earlier sci-fi environment we created for our portfolio. This time around, we wanted the concept art to drive the look and style from the start. Our goal was to build a more cohesive, visually compelling environment: fully optimised and playable in Unreal in addition to being visually polished from concept to completion.
Gianluca: We set out to restyle a previous internal sci-fi environment. Originally, the scene featured a central pod with an alien creature, a track system for transporting the pod to another lab. However, the early blockout didn’t highlight the focal point or leave much space for cinematic shots. So, we decided to expand the scene and scaled up the main elements to make it more immersive and visually balanced.
Did you anticipate any major challenges or ambitions early on?
Jeroen: Absolutely. We knew we wanted to create an environment that would meet today’s technical standards, visually strong, stylistically cohesive and executable within a limited timeframe. This was especially important since we worked on this between active client projects.
Gianluca: We had references from a wide range of sources. For instance, we took inspiration from the eerie atmosphere of Dead Space, the asset quality of Star Citizen, and the architectural style of Tsutomu Nihei’s comic books. The biggest challenge was translating the concept’s mood, lighting and details, to our 3D artists. Certain areas (beyond the main concept) risked feeling empty, so we had to strike a balance between filling space and maintaining breathing room.
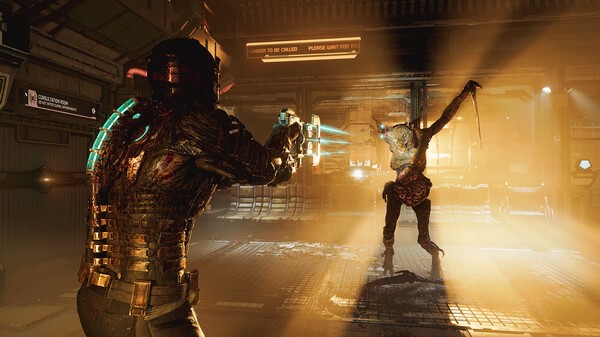
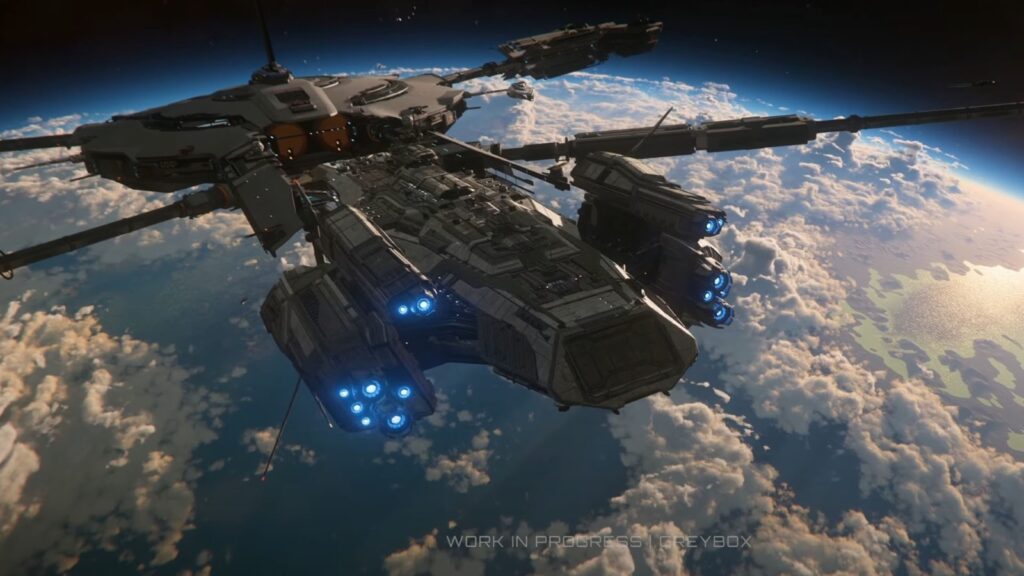
Inspiration from Dead Space (Credit) & Star Citizen (Credit)
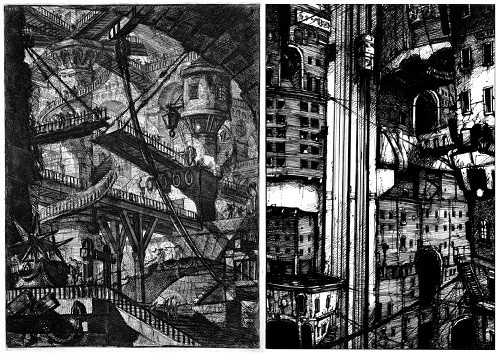
Inspiration from Tsutomu Nihei (Credit)
How did working on this project push your creativity or technical skills?
Jeroen: We had a carte blanche and were in total control of every aspect. This allowed us to explore new techniques and applications freely. Obviously, we still had to stay mindful that we had to complete it within a certain time frame. Not every idea worked out and we had to problem solve along the way. And the more we tried, the more we felt cornered by time. We did ultimately find a balance between experimentation and relying on methods we already knew would work.
Gianluca: By its very nature, sci-fi as a genre is perfect for pushing design boundaries. It forces you to figure out how to represent familiar technologies in a futuristic way. As a result, the challenge ends up being fun because the key is to make them believable, that it could exist in the real world.
Concept & Direction Finalisation
So, Gianluca, how did you land on the final concept?
Gianluca: The final concept didn’t emerge during pre-production alone. It evolved through ongoing collaboration with our 3D artists. For instance, the continuous collaboration made us realise that it was much more effective to achieve greater precision through adding details to existing elements than painting over scene screenshots in Unreal Engine.
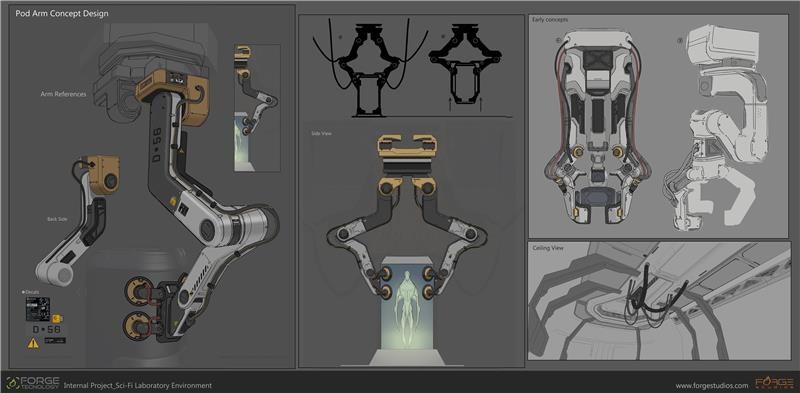
How did the concept evolve in the early stages?
Gianluca: After the first sketches, we decided to introduce new elements: a large front window, a mechanical arm to lift the pod, a freight elevator, and a research area for extracting samples from the creature. All of this was done to give the scene more depth. We also made several lighting adjustments, moving from a cold, clinical tone to something warmer and more atmospheric.
Asset Production
What were the most technically or creatively demanding assets to produce, and why?
Fabio: While many assets were visually complex, the biggest challenges were often technical. Even simple objects required careful planning to make sure they looked beautiful, performed well, and were optimised correctly. We had quite intricate assets, such as glass elements, that demanded advanced modeling skills and hard surface techniques. This is because I wanted them to feel credible and mysterious but at the same time, well contextualised in a sci-fi environment. Because of this, I spent a lot of time developing a custom shader to give life to the glass, such as normal details, smudges and dirt to make it feel used and layered.
Unreal Engine offers many powerful (and fun) tools for experimentation, but optimisation was key. I ended up learning many of them through trial and error. But it all paid off in the end!
Jeroen: One of the more enjoyable challenges for me was creating a procedural tarp that could drape over any objects. I used Houdini for this – it was a nice technical exploration and a nice exercise even though the object itself was just a simple tarp. I also experimented with Stable Diffusion to generate custom grunge textures. It was a true test to see if generative AI could offer some value. And all in all, it did create some interesting textures that were quite useful.
What new workflows or techniques did the team explore or adapt?
Fabio: One of my favourites workflows was using face-weight normals in a mid-poly set up. It’s well-known but incredibly effective, giving objects a realistic look without blowing the poly budget. But shader development was where I did the deepest exploration. I focused on building modular, highly adaptable shaders that gave us the flexibility and variety, without needing to build new assets for every part of the environment. This was especially helpful for the more architectural elements.
I was also able to introduce procedural variations like colour changes, wear and tear, dirt and contact shadows, which gave reused assets a fresh and unique look each time.
Of course, balancing visual quality with optimisation was tricky, but every challenge became an opportunity to learn and refine the workflow. Some shader effects looked great but were too resource intensive. It took a lot of trial and error to find the right compromise.
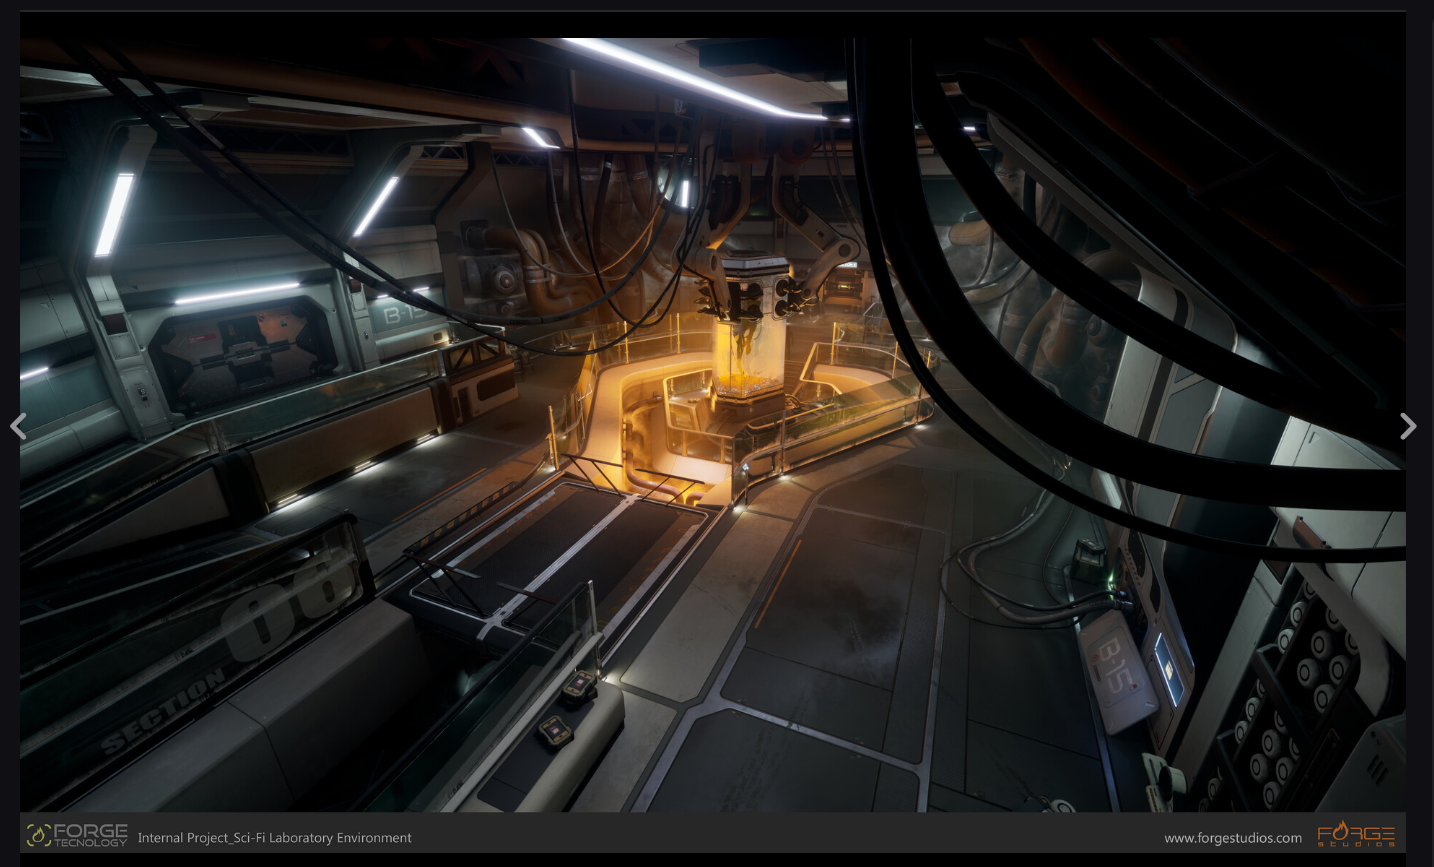
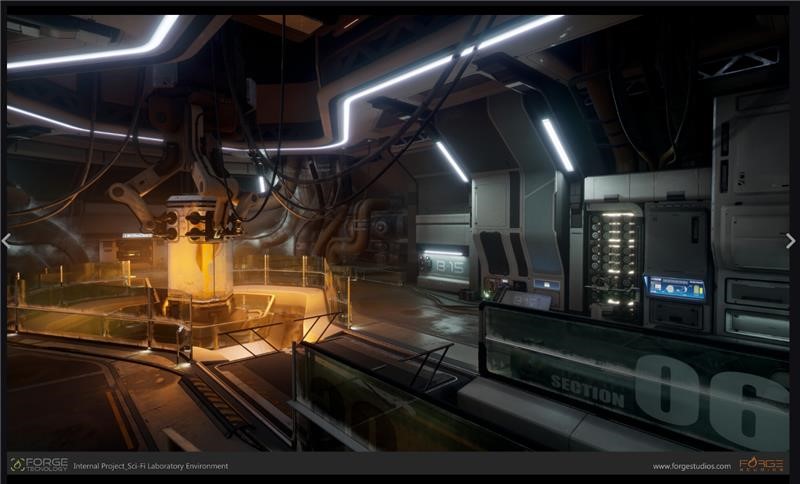
Jeroen: We built on industry established workflows, such as mid-poly meshes with face weighted normals, but added our own layer of refinement. We tried adding an elaborate material system that worked well with them, which added a nice wear and texture to our assets. We also used Blender with plugins to efficiently add decal panel lines to our assets.
Houdini played a huge role in my workflow, from cloth simulation and vertex colour management to asset stacking. It wasn’t just about results but figuring out how to integrate Houdini in a more practical way.
That’s a wrap!
This first phase of the project was all about layering the creative and technical foundation, especially establishing a clear visual direction through team collaboration, iteration, and willingness to experiment.
In Part II, we’ll walk you through how everything came together inside the Unreal Engine, from lighting, layout, polish and final touches that transformed our vision into a fully realised, interactive environment.
Until then, check out more of the project on Art Station. To learn more about our work and services, reach out at business@forgestudios.com.